Just a quick one. This is a demonstration page of what the Spectra-tex Neon range of colours can do: This was a demo T-shirt for http://www.barwellbodyworks.co.uk/ they have recently become the uk dealer/distributor for the entire 'Badger' and 'Thayer and Chandler' airbrush range.
 I am using the Badger spectra-tex 'Neon' range. These are a vibrant, funky airbush colours that have been developed specifically for textile painting, although they have a myriad of other applications.
I began by airbrushing a simple yet elegant chameleon onto a white 'fruit of the loom' t-shirt using badger ‘spectra-tex’ 55-179 – ‘True Blue’. I chose the chameleon as it’s nature most amazing animal. It changes colour to blend in with its environment. By choosing neon colours I have added an extra level of vibrancy and zest to it’s already iridescent appearance. Going from left to right, I began with 55- 165 - Neon Green, following the form of the tail, next up 55- 170 - Neon Wild Berry, blend softly into the green you have already added. You can also use some 55-169 Neon Purple for shadow areas in the pink section.
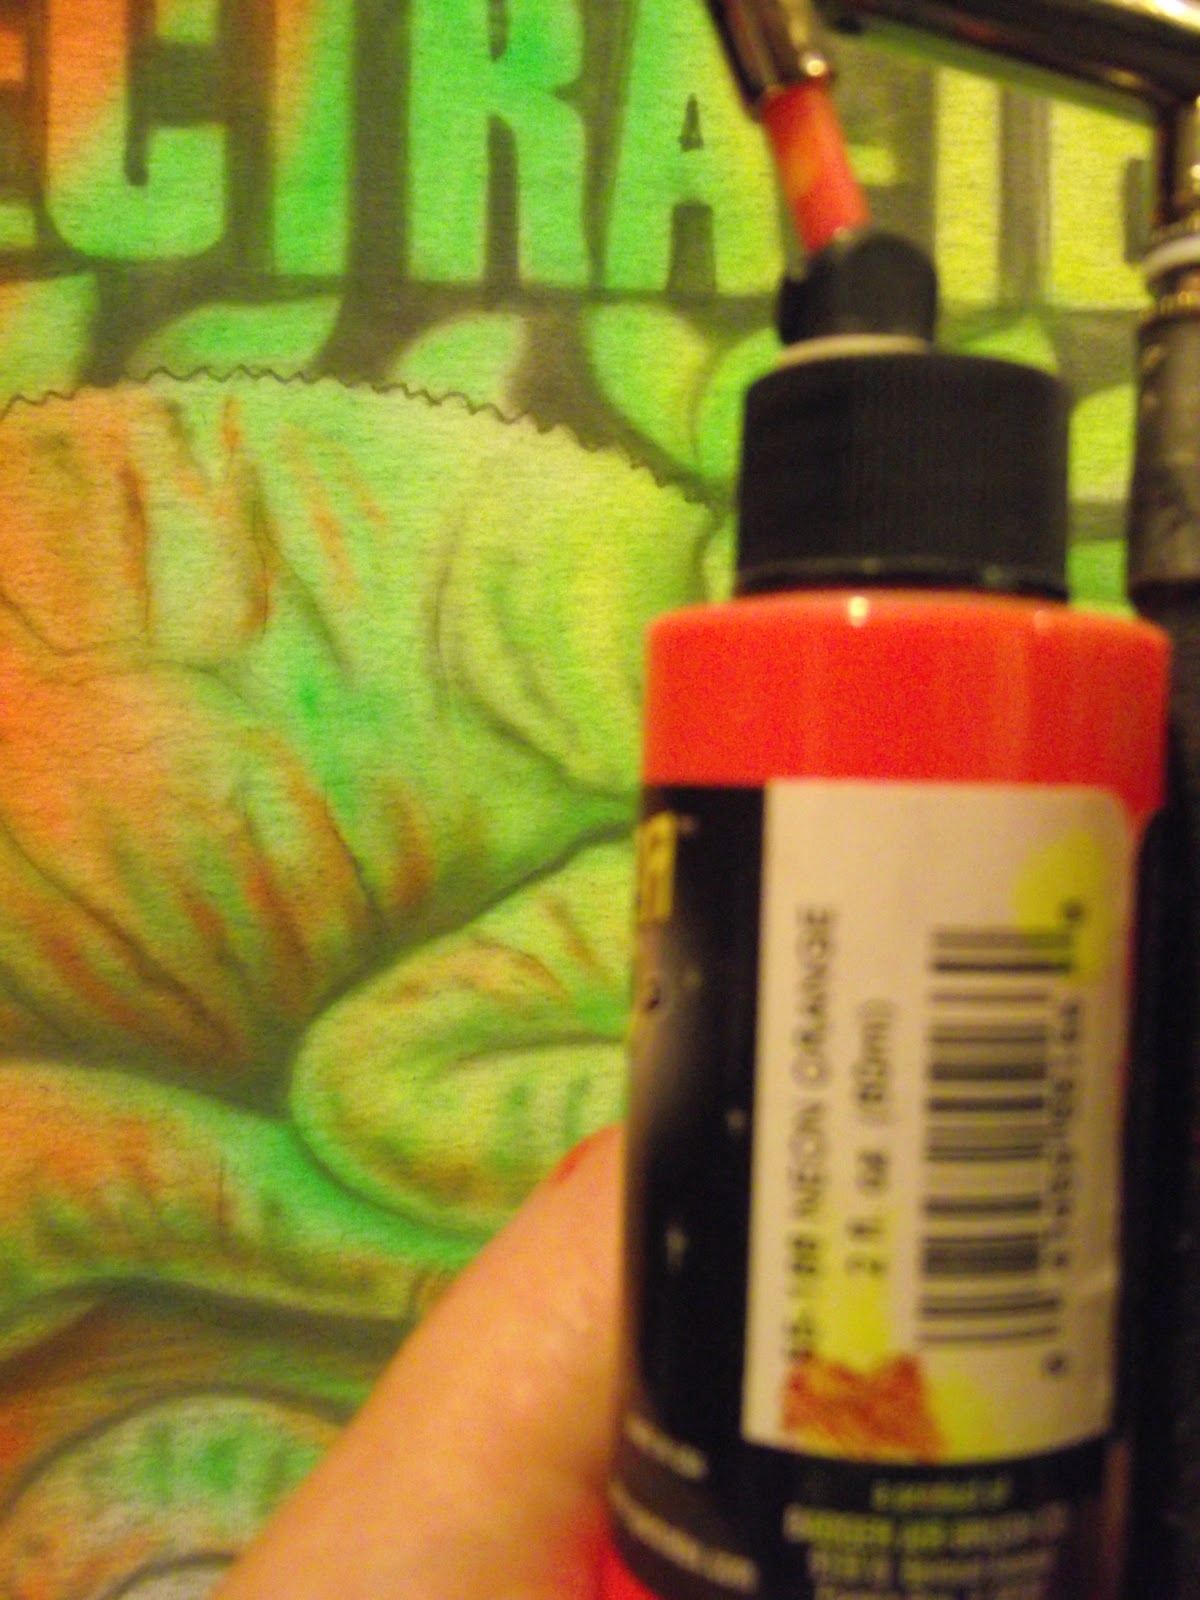
Then use 55-166 - Neon Orange, feather this out to the right as it will do a superb blend into 55- 164 - Neon Lemon. Finally using 55-146 – ‘Jet Black’ add some deep shadow to accentuate the form – DON’T use too much black as you will kill off the vibrancy you have created.
 So a great beginner's project that brings a striking result simply by using the dynamic badger spectra-tex neon colour palatte.
 For the yellow lettering, use staggered diagonal strokes to simulate a bronzey-brass effect with 55-154 'Metallic Gold'- Badger spectra-tex range.This will give the letters an added metallic shimmer which will breathe some life into them. Don't worry about being too accurate as we will shortly be going around the letters with black using the stencil again.
 Like so...
 Now replace the face stencil but this time using black carefully dust in black from the corners of the mouth, but DO NOT make it a solid black, subtlety is the essence here...
 The same with the hands, but by replacing the stencil and going around the OUTSIDE this time we are effectively creating the negative space that gives the hand some form.
 after the black and yellow use 55-169 'Neon purple'- (Badger spectra-tex range) on the eyelids and on the reflected section of the hair. Rather than a solid black create a texture that is a bit like marble that adds contrast to the organic form of the visage.
 Finished!


SPECTRA-TEX® PAINTS http://www.badgerairbrush.com/Spectratex.asp


 Place the text stencil at the top of the shirt and using Badger spectra-tex 'adobe' 55-137 dust over the letters like this:
 Do the same with the face stencil:
 It should look like this, then do the same with the hands:
 Then begin to add contouring to the face, emphasizing Freddie's wide, high cheekbones, thus:
 Then render the hands using the same tonal range as the face, making sure to emphasize their slender, delicate nature:
 This is all the adobe (brown) work done at this point. A quick comparison with the stencil shows how far we have come:
 We will now switch paint bottles: